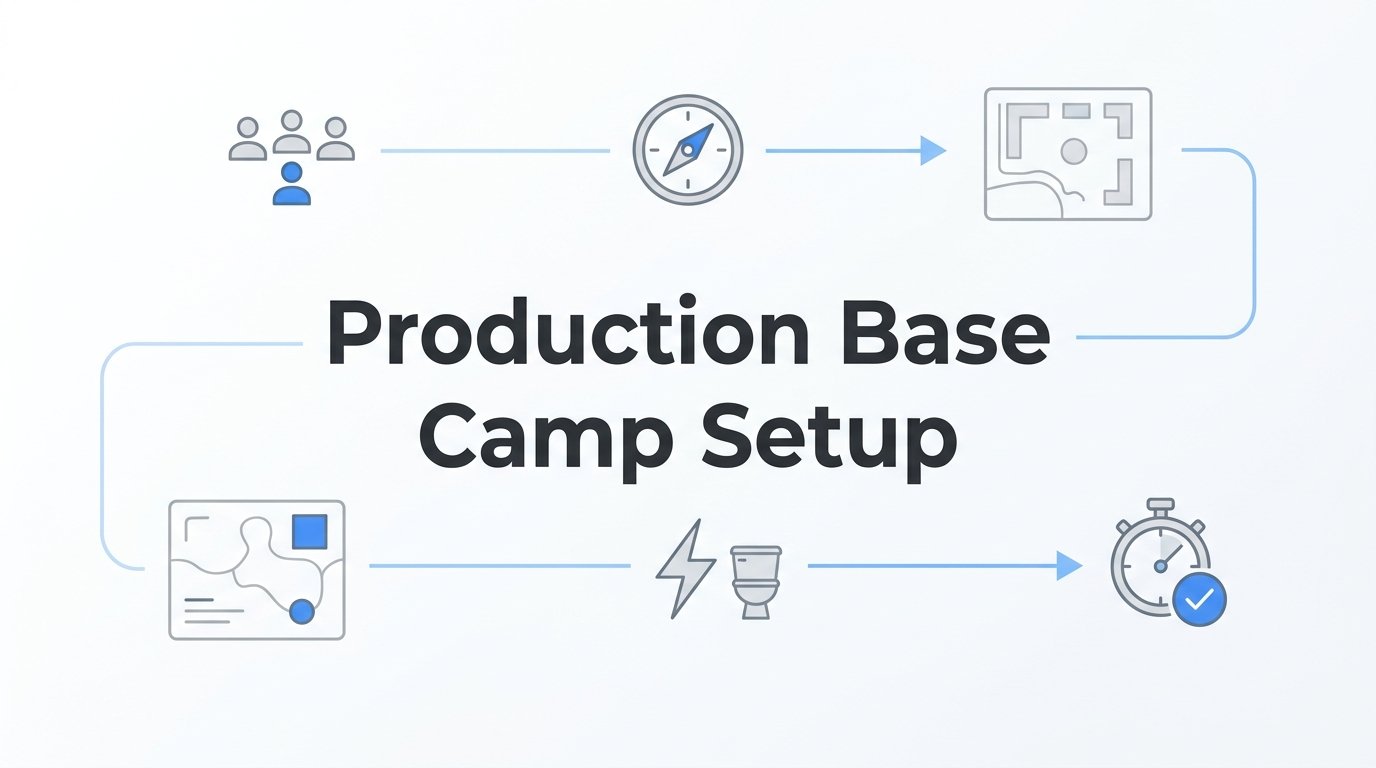
How to Plan and Run a Production Base Camp Setup, Step by Step
This step-by-step guide shows film and TV producers how to plan and run a production base camp setup, from the first headcount to the final site walk. You'll finish with a chosen site, a layout map, a power and facilities list, and a daily operating routine that keeps your crew on time.
A production base camp setup is the difference between a crew that arrives, changes, eats, and gets to set on time and one that loses an hour every morning to a muddy lot and a tripped breaker. This guide walks you through planning and running one from first headcount to final site walk. You will finish with a chosen site, a layout map, a power and facilities list, and a daily operating routine. Before you start, gather your script breakdown, shooting schedule, rough cast and crew headcount, and any location contracts or permit details.
Step 1: Define What Your Base Camp Must Support
Base camp is the central staging area for trailers, catering, wardrobe, makeup, crew parking, and equipment. It is not the set. It usually sits nearby but separate, and it is often combined with the unit base (where the production's trucks and support vehicles park) and a crew parking area. Keeping these ideas distinct matters because the set has different permit, sound, and access needs than the camp.
Start with numbers. Pull the headcount for each shoot day from the call sheet or a draft schedule, then list needs by department:
- Cast holding and dressing space
- Hair and makeup stations
- Wardrobe racks, steaming, and fitting space
- Production office and a quiet spot for paperwork
- Catering and seating
- Restrooms
- Camera, grip, and electric storage
Next, decide the camp's mode. A single-day basic setup might be a few vehicles, a pop-up tent, and portable restrooms. A multi-week full camp involves trailers, generators, a catering operation, and daily servicing. This choice drives every later decision about cost, permits, and vendor contracts, so make it now rather than letting it drift.
The most common mistake is sizing the camp from the average day. Size it for the peak day, the one with background actors, extra crew, a stunt team, or visiting executives. If your peak day needs more space than the site can offer, you want to learn that before you lock the location, and you may need to solve it with a second holding area or a shuttle from off-site parking.
Finish this step with a one-page needs summary: peak headcount, department list, and camp mode. Every step after this works from that page.
Step 2: Scout and Secure the Site
Walk candidate sites with your needs summary in hand. The ground matters first. Look for flat, hard, well-drained surfaces, because trailers need to be leveled and a field that looks fine in dry weather can swallow a honeywagon after one rain. Check access width and the turning radius for long trucks and towed trailers, including any low branches, gates, or tight corners on the approach.
Distance to set is the next filter. Ideally cast and crew can walk to set in a few minutes, or you can run a short shuttle. Also note how close the site is to power and water, since that affects both cost and complexity.
Then listen. Generators, idling trucks, and crowds carry, and your sound team will not thank you if camp noise bleeds into recorded dialogue. Check sightlines and neighbors as well: a camp that faces a residential street invites complaints, and a camp visible from the set can end up in frame.
Confirm permissions in writing
You need the property owner's written agreement or a location contract, and you may also need a municipal film permit plus separate approval for parking, street use, or trailer placement. Permits for trailers and parking are often distinct from the filming permit itself. Rules and lead times differ by city and county and change over time, so verify current requirements with the relevant local film office instead of assuming. Ask specifically about parking restrictions, generator rules, and operating hours.
Plan for bad weather and overflow
Identify a backup before you need one: a second parking lot, a gravel pad, or a paved area for the heaviest vehicles. Note where it is and who can approve its use. A wet-weather plan can be as simple as a stack of ground protection mats and a contact for gravel delivery.
Step 3: Draw the Layout Before Anything Arrives
Sketch a to-scale site map. Printed satellite imagery with overlays works, as does simple drawing software or graph paper. Mark the entry and exit, then establish a one-way truck flow so large vehicles never have to reverse through crowds. Show fire lanes and a clear path for emergency vehicles, and keep them free of anything, including catering lines.
Group elements by workflow rather than by size:
- Cast trailers sit close to hair, makeup, and wardrobe so talent moves a short distance in costume.
- Catering sits central to the crew so people reach it without crossing traffic.
- The production office goes near the entrance, where vendors, visitors, and drivers check in.
- Equipment trucks go nearest the route to set to shorten each load-in and reset.
Consider a simple example. Suppose cast trailers sit on the east edge and the crew parks on the west. Placing the catering tent between the two lets everyone reach it, but you also need to orient the serving line so the queue runs parallel to the truck lane, not across it. Otherwise a lunch line can block a delivery for twenty minutes.
Leave generous spacing between trailers and between trailers and generators. Exact clearances depend on local fire marshal guidance and the rental provider's requirements, so ask both and record the figures on the map rather than guessing. Generators also need room for refueling access and should be placed with exhaust and noise in mind.
When the map is ready, share it with the transportation captain and the location manager for sign-off. They will spot problems you cannot, such as a turn too tight for a 40-foot trailer. Revise until both approve, then treat the map as the controlling document for delivery day.
Step 4: Plan Power, Water and Restrooms
Power
Build an electrical load list. Add up everything that draws power: trailers, heating and cooling, production office equipment, catering appliances, and charging stations for radios, batteries, and phones. Then add headroom. Generator capacity is the figure most often underestimated, and undersized units trip under peak load, usually in the middle of a hot afternoon. Have a qualified electrician or your rental vendor confirm the generator size from your list.
Decide between shore power, meaning a connection to the site's own electrical service, and generators. Shore power is quieter and cheaper to run where available, but it must be assessed by a qualified person for capacity and safe hookup. Generators offer flexibility but bring noise, fuel logistics, and a refueling schedule. Ask vendors about quieter or lower-emission options, and check whether the site or permit restricts generator use.
Avoid running cables across walkways without covers or ramps. They are a trip hazard for crew and a snag for carts. Route them along edges, use cable protectors where they must cross, and keep connections off wet ground.
Restrooms, water and waste
Restroom count scales with headcount and shoot hours. Do not rely on a rule of thumb from the internet. Ask the vendor for their recommended ratio for your numbers and check any local regulatory requirement. Include accessible units, and add hand-washing stations.
Plan drinking water supply, a place to wash hands, and how you will handle waste and grey water. Arrange trash and recycling containers, and set pickup times with the hauler. Catering generates more waste than most departments expect, so size bins accordingly and keep them away from the dining area.
Step 5: Order Trailers, Tents and Equipment
Turn your Step 1 list into a rental order. The common pieces include:
- Star trailers: private trailers for principal cast.
- Honeywagons: trailers divided into several small dressing rooms, often with restrooms attached.
- Makeup and wardrobe trailers: fitted for stations, mirrors, lighting, and racks.
- Production office trailers: or a tent or room in a nearby building.
- Tents, tables, and chairs: for catering and holding.
- Heaters or coolers: for tents and open areas.
Book early, particularly in busy seasons when trailers and generators are in demand. Confirm delivery windows, whether a tow vehicle is needed, who levels the trailers, and the pickup date. Ask each vendor for dimensions, power requirements, and hookup types. Those details let you check that the layout map still holds, since a trailer that needs a larger power connection or more clearance than assumed can force a redraw.
Rates and availability vary by region, season, and rental length, so get written quotes and compare what is included. Confirm insurance requirements and ask for certificates of insurance in the form vendors and the property owner expect. If you need film-specific gear alongside your camp facilities, a rental house such as FILMS Production Rentals can be one place to check availability.
Then cover the small items that get forgotten and cause delays on day one:
- Wheel chocks and leveling blocks
- Steps or platforms for trailer doors
- Directional and safety signage
- Lighting for night shoots, including walkways and parking
- Extension cords, cable covers, and fire extinguishers
- Ground protection mats
Step 6: Set Up, Inspect and Sign Off Camp
Before anything moves in, take timestamped photos and video of the site: pavement, lawns, fences, gates, curbs, and any existing damage. This record protects you in a damage dispute and costs almost nothing.
Then follow a fixed arrival sequence:
- Mark the ground with paint, flags, or cones according to the map.
- Bring in generators and establish power first.
- Position trailers.
- Set up tents, tables, and chairs.
- Place restrooms, hand-washing stations, and signage.
Assign one person to direct parking and positioning, usually someone from the transportation or location team. Having a single voice prevents drivers from improvising and blocking one another. Walk each driver through the one-way flow before they start moving.
Before the first call time, run an inspection. Test power at every trailer, then check HVAC, interior lights, door locks, and water. Confirm fire extinguishers are present and accessible, a first aid station is stocked and signed, and walkways are lit if people will arrive before sunrise or leave after dark. Fix problems now while vendors are still on site.
Post signs for directions, quiet zones near set, and the emergency assembly point. Make sure the department heads and the camp contact know where that assembly point is. Once the checks pass, have the location manager or production manager sign off so there is a clear moment when the camp is declared ready.
Step 7: Run, Maintain and Wrap the Camp
A camp needs daily upkeep. Build a routine around a morning walk-through before the crew arrives: check restrooms, trash, walkways, power, and generator fuel. Schedule restroom servicing and trash removal at consistent times, and update the layout whenever the schedule changes, for example when a larger scene brings in more background actors.
Name one camp contact, with a radio and a phone number, who handles vendor issues and questions. Everyone should know who that is. Keep radio channels organized so camp traffic does not clog the channel that set uses.
Expect trouble and keep simple responses ready:
- Power trips: check the load list, move heavy draws such as heaters to another circuit, and call the vendor if the generator is undersized.
- Mud: lay ground mats or gravel on high-traffic paths before it gets bad.
- Overflow parking: activate the backup lot and arrange a shuttle.
- Heat or cold in holding areas: add fans, heaters, shade, or warm drinks, and rotate people out of exposed spots.
At wrap, stage the load-out in the reverse of arrival: tents and tables, then trailers, then restrooms, with generators last. Return rentals on the agreed dates and collect receipts or sign-off sheets. Do a final site walk with the property owner, compare conditions against your pre-shoot photos, and restore anything that changed. Get the owner's acknowledgment in writing if you can.
Turning One Camp Plan into a Template
Before your first shoot day, walk the camp against your map and checklist. Check that every trailer sits where it should, every hookup works, and every sign is in place, then fix the gaps while there is still time. After wrap, note what worked, what ran short, and which vendors delivered, and save the plan as a template so the next production starts from a tested baseline.
Get the professional film equipment you need to bring your production vision to life, without the overhead of ownership. Contact us today to check availability and secure your rental for your next shoot.
Serving New England Productions
Star wagons, honeywagons, crew trailers & more — delivered anywhere in Massachusetts and New England.
Request a Quote